
Short description of the article
Intro
Stage 1: Visual Studio Code Usage
Stage 2: Add Angular CLI
Stage 3: Add RxJs
Some extra: Typescript and Webpack
Stage 4: Bootstrap 4 in a project
Stage 5: NG Bootstrap
Be Efficient
Conclusion
Intro
Beginning to learn the framework or the programming language, we encounter difficulties such as spending hours reading documentation and trying to understand how does it work. This is the developers’ routine. Every time we study something new to come up with the right solution or overcome some blockers, or improve skills. I think it happened to every developer who started learning something new. Having started working on the latest project, our team decided to choose Angular 6 as the best solution.
This article is based on search queries that often led us to AngularJS, which is the predecessor of Angular. Actually, the recent Angular is radically different from AngularJS, it's a newer framework that has a lot of functionality and is easier to learn. Currently, the actual Angular version is 6. In this article I will briefly describe how to build your first Angular app, connecting popular Sass libraries, Font Awesome, and NG-Bootstrap.
The article is aimed at developers who are eager to convert to Angular and make it in a perfect way. Remember the basic commands for creating and configuring the application and understanding how to connect different libraries.
Stage 1: Visual Studio Code Usage
There are many IDEs that you can use for our task. The article app is based on Visual Studio Code, this choice for me is more preferable. You can use whatever you like though. In VS Code there are many extensions. One of my favorite is "Debugger for Chrome". It allows me to debug JavaScript directly in the editor. It also supports automatic saving, which means that you do not need to save your changes to files each time, the editor will do it for you. This is a small part of what this editor can do. Working in this editor has really become convenient for me as it helps to identify errors even while writing the code, knowing the hotkeys development becomes much faster and more productive.
Stage 2: Add Angular CLI
Angular CLI is a great tool to create and work with Angular. It does not have to be used, but I would recommend it. Angular CLI allows you to write clean code using the best practices described in the Angular documentation. For more detailed information read its official documentation, or official Angular website.
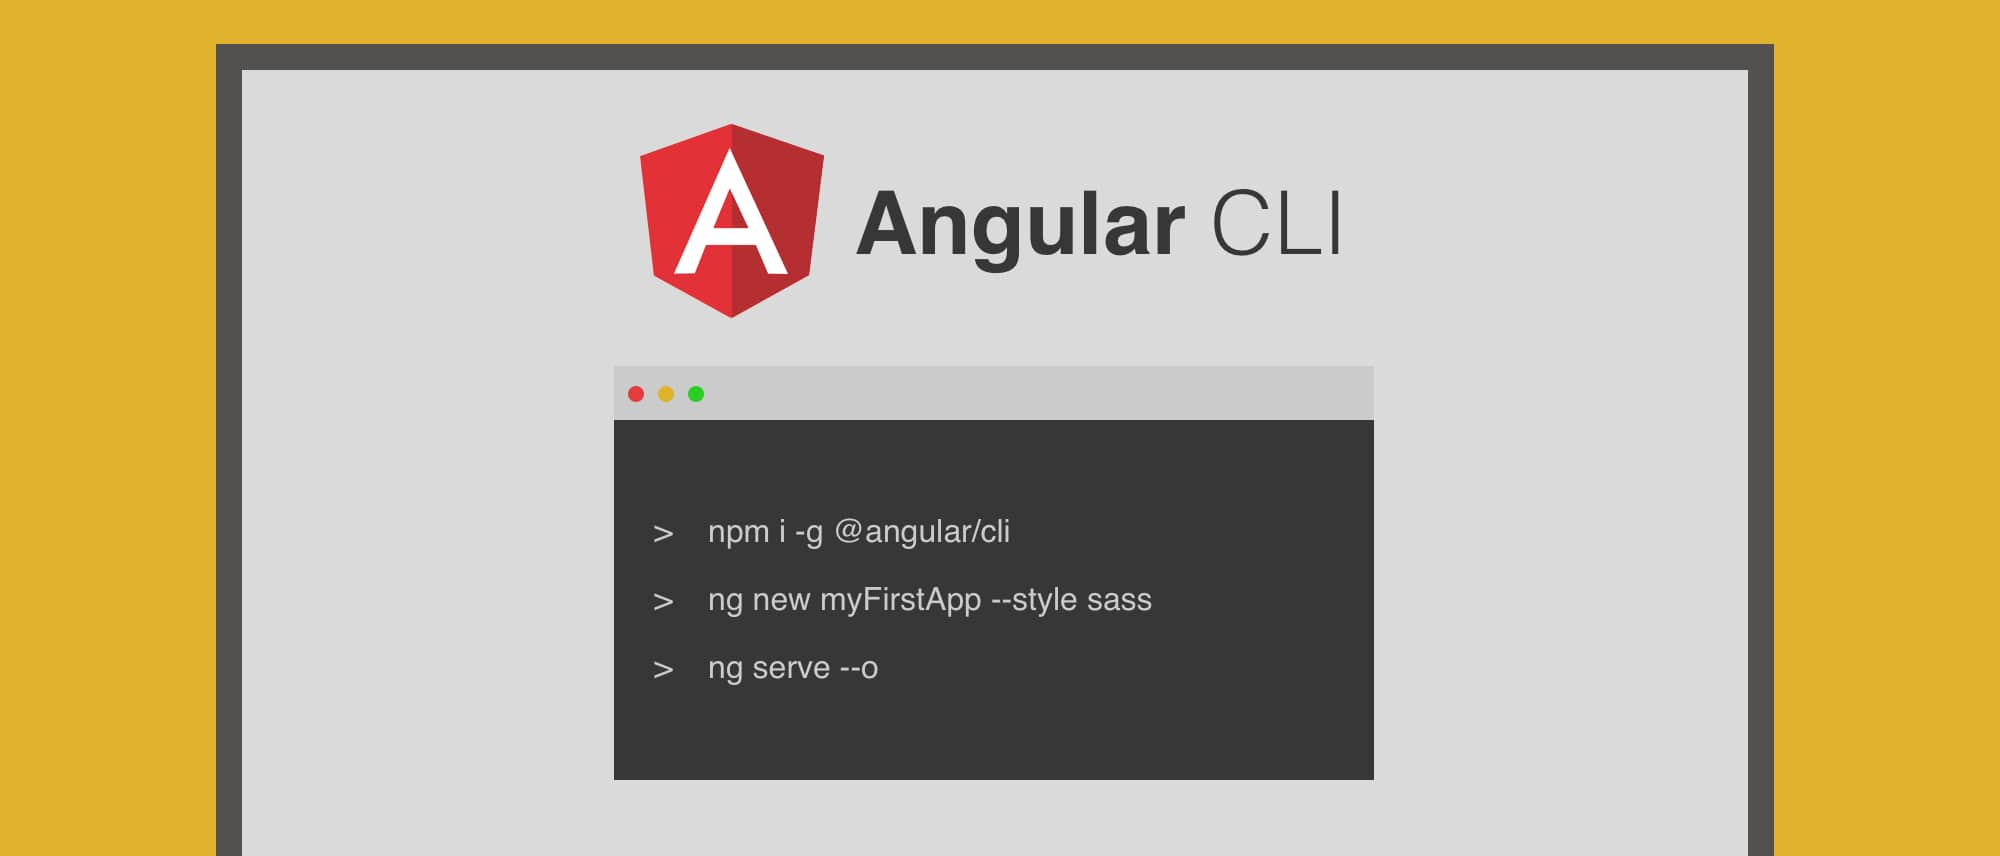
Now let's look how to install and use all Angular CLI advantages. As your primary step you need to install NodeJS on your computer. After installing node.js, write a command:
npm i -g @angular/cli
After that we will go with "ng new". You can read more about it here.
Let's write in the terminal another one:
ng new myFirstApp --style sass
This will install the myFirstApp folder in which our application will be located. Pay attention to the flag "--style sass", it indicates that our application will use Sass. Now we can open this folder with our IDE. In order to run our application use "ng serve”.
VS Code has its own terminal, so I can right there and write a command:
ng serve --o
The "--o" flag indicates that our application will automatically open in the browser.
We should see in the terminal how our application is built. Then browser will automatically open the main page of our application.
Stage 3: Add RxJs

RxJs is a powerful library that allows you to perform any operations on data. Imagine that you need to process data with several functions that are called one after another and perform different manipulations with your data. Here one of the functions has an error that you need to intercept. When it occurs you need to send to a user an error number. With the help of RxJS it will be very simple. This library provides a lot of so-called "operators" that are called one after another and allow you to perform any operations on your data.
However, learning its capabilities might take some time, but it is worth your efforts. Of course, using this library it’s not mandatory, but if you understand how it works in your hands will be a powerful tool for processing data and tracking every event that emits your application. Using RxJs also prevents repeating the parts with the same code, and helps to reduce your multi-line code by dividing it in a couple of lines. In the documentation of the library, you can find a detailed description of each operator with illustrations. For more information on the library, please see the link.
Some extra: Typescript and Webpack
The developers of Angular have their own opinion about the building process and this is perfectly reflected in performance. Now the developers do not need to worry about the build process as with Gulp or Grant libraries.
Angular uses TypeScript under the hood, so if you look at our application, you can see that the files created by Angular CLI have the extension ".ts". TypeScript allows us to use static typing, which simplifies development. Therefore, when building our application, our TypeScript code is converted to pure JavaScript for the browsers.
What are the advantages of using TypeScript (TS)? Let's look at the main ones in order to understand why it’s used by Angular:
TS is the only language that is clearly compiled into JavaScript, so Angular components become more readable and structured.
TS is a superset over JavaScript, so regular JS can be used in components, and this will not disrupt the application.
A good and readable code is competently defined interfaces and classes, and since pure JS does not support interfaces, TS is an ideal development option.
Strict typing, which allows you to define clear types of variables and arguments that a function will take, this avoids the problems that can arise in a large application and confuse you. Since the editor itself will prompt you what kind of data should be in a particular variable.
Presence of private, protected and readonly properties, now we can specify properties that can not be overridden.
Therefore, I think the use of TS will appeal many C# developers. Using TS Angular gives more features and simplifies development.
We need a build process for one more reason, it concludes that we use Sass. During the build process, our Sass code is compiled into CSS.
Angular uses the WebPack library, if you look at our application, you can find a file called "angular.json" which allows us to customize the build process if necessary. But you rarely need to change something there.
Stage 4: Bootstrap 4 in a project

The easiest way to connect the bootstrap library with NPM is using terminal and writing a command:
npm i bootstrap --save
This will load the library into the node_modules folder, also, note the "--save" flag, it will add a dependency to the package.json file.
In the same way, we can load Font-awesome. To do so below is your next step:
npm i font-awesome --save
Now to begin working with our libraries, we need to add their Sass files into our styles. To do this, find in our application a file called "style.sass".
Add there such imports:
    @import "~bootstrap/scss/bootstrap";

    $fa-font-path : '../node_modules/font-awesome/fonts';

    @import '../node_modules/font-awesome/scss/font-awesome';
This is all that is necessary for our application so we can take advantage of bootstrap and Font-awesome libraries.
Stage 5: NG Bootstrap

Multiple bootstrap components need a reference to the JavaScript file. Therefore, Angular has an excellent NG Bootstrap library that provides us with bootstrap 4 components running from Angular.
Install it easily using NPM, for this we introduce one more command:
npm i @ng-bootstrap/ng-bootstrap --save
When the installation succeeds we will need to import the library module into our app.module.ts.To do this, go to our app in the app folder and find our module there, insert the import of the NgbModule:
import { NgbModule } from '@ng-bootstrap/ng-bootstrap';
So the AppModule should look like:
    @NgModule({
     declarations: [
       AppComponent,
     ],
     imports: [
       BrowserModule,
       NgbModule.forRoot()
     ],
     bootstrap: [AppComponent]
    })
    export class AppModule { }
This is basically all you need to use NG Bootstrap. Now we can use the components of this library in our templates and components.
There is an excellent documentation that describes in details how to use this library.
Be Efficient
I'm a developer who almost always writes in C#, ASP.NET MVC and a lot of jQuery. In my opinion the combination of Angular and TypeScript has made JavaScript easier to learn as it looks more familiar now to the rest of developers. I was amazed at how structured and clean my code was, it was truly an evolutionary step in my experience.
After studying Angular, I realized that all the questions that I had, I could easily find in the official documentation, so I recommend that before switching to StackOverflow.
Conclusion
Let's sum up the difference between AngularJS and Angular? The biggest plus is the learning curve in Angular is much lower than in AngularJS, many opportunities are provided to you right out of the box. With Angular CLI you no longer need to engage in long setup of the application, many console commands that simplify the life of the developer. You can create a clean and structured code easily, you can do most of the tasks very simply. When you learn to understand what is "Components and Services" you can be very efficient. All I need in my work is to sit down and code, instead of being engaged in unnecessary tasks They simply took my time away. Not anymore with Angular 6.


